When you receive a Notification that you have been assigned to read a Controlled Document, you can mark it from within the Notification pane by right-clicking on it and selecting Controlled Document > Accept or Reject. You can also mark Controlled Documents and get more information about the Controlled Document in the Controlled Documents pane. Click on the Controlled Documents icon ![]() in the middle panel to open the Controlled Documents Pane.
in the middle panel to open the Controlled Documents Pane.
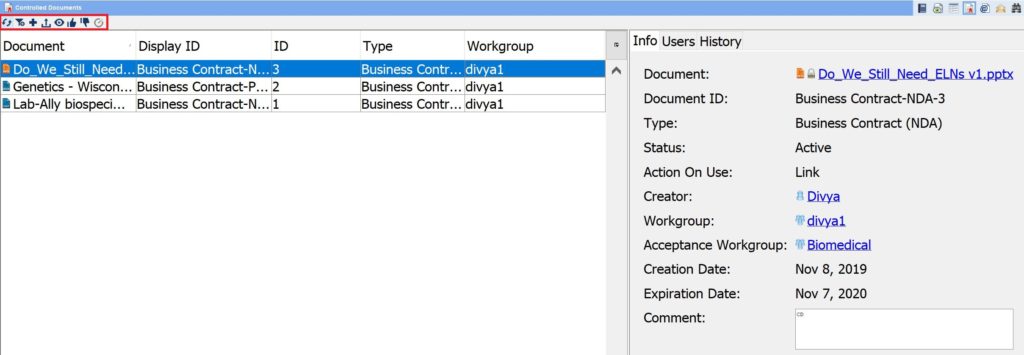
By default, your active Controlled Documents are listed here. Select one to see information about it in the right pane:
If you are ready to sign, select the Controlled Document and click on Approve ![]() or Reject
or Reject ![]() in the Controlled Documents icon pane.
in the Controlled Documents icon pane.

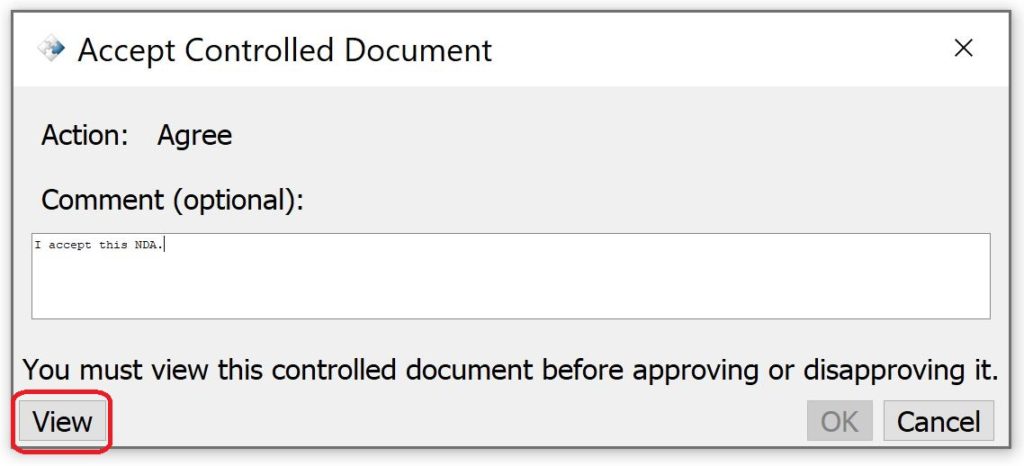
A dialog will be launched. Click View (circled) to read the Controlled Document . The OK button will be greyed out until you view the document. Fill in a comment (optional) and click OK:
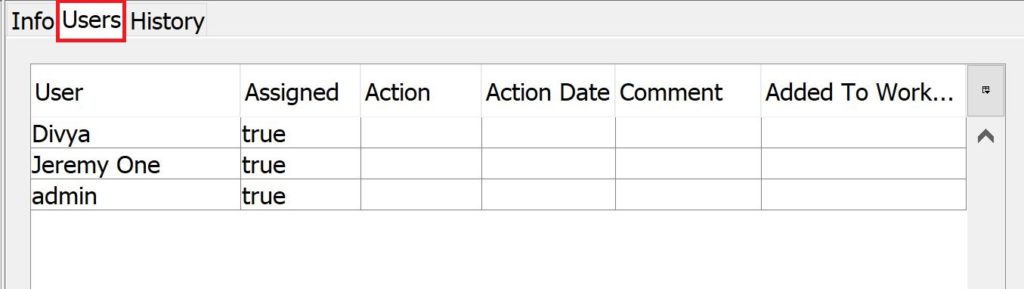
For more information about the selected Controlled document, open the Users tab in the right pane. This shows who else in the workgroup has been asked to mark the Controlled Document and, if anyone has signed, the response and time/date will be shown.
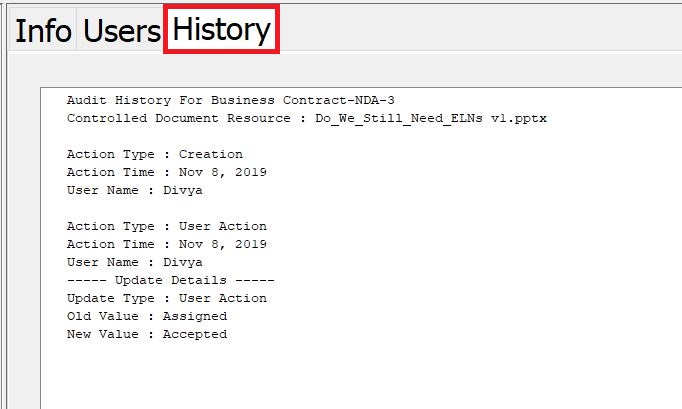
For more information on usage of a Controlled Document open the History tab to view date stamped information about users who have accepted/rejected the document as well as where the document has been used.
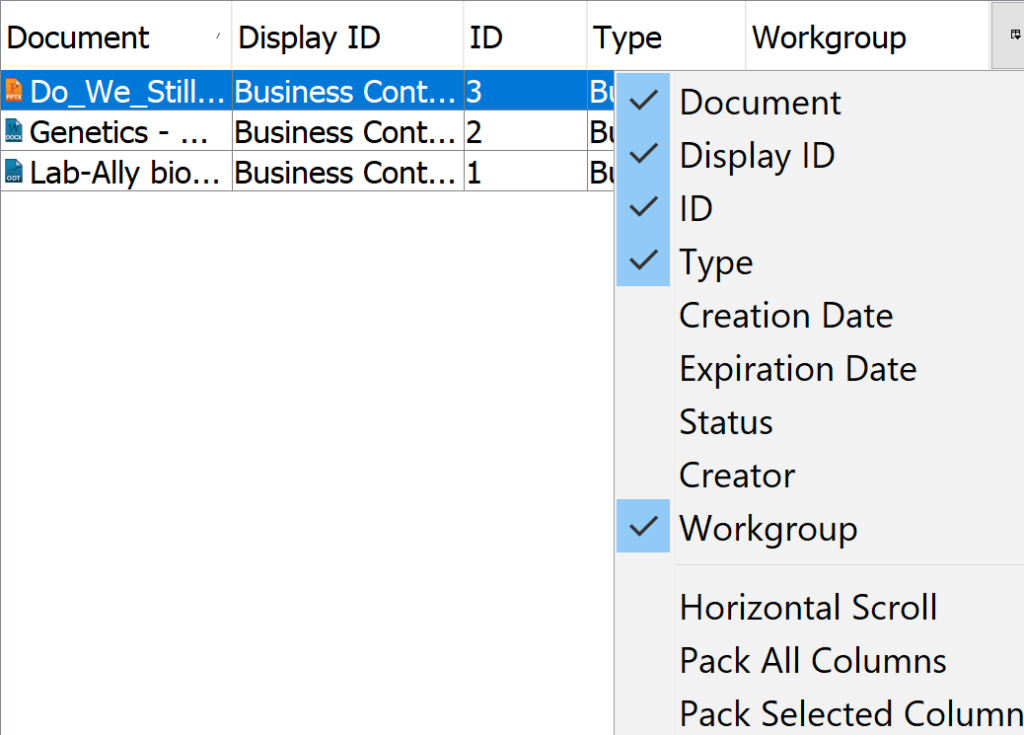
To add more information in columns to the Controlled Documents list, click on the icon in the upper right of the chart and in the submenu that pops up, select the checkboxes for the information you wish to display:
< Notifications up Filtering >