Adding/Removing Members from a Workgroup In addition to the System Administrator, a Workgroup Administrator may add/remove users to/from a Workgroup and may set the Workgroup members access roles. More than one user can be a Workgroup Administrator in the same Workgroup. Any Workgroups for which you have Workgroup Administrator status are listed when you select Manage Workgroups from the Sessions menu.
- Select Manage Workgroups from the Sessions menu. This launches the Edit Workgroups dialog. Only Workgroups you administer are listed (in the left panel).
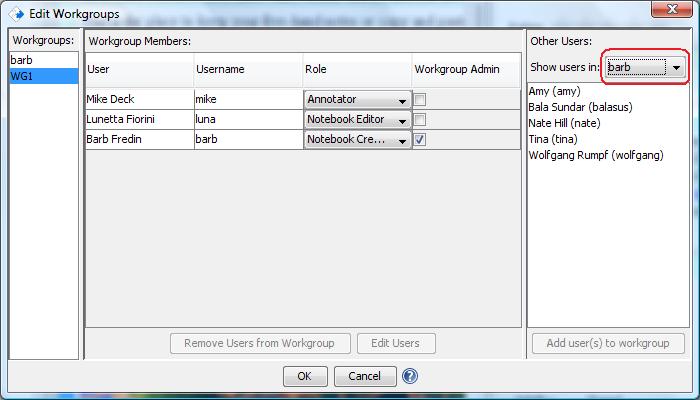
- Select a Workgroup from the left panel. To add a user, select a name from the list shown in the right-hand panel and click the Add User to Workgroup button. Use the drop-down lists to change user roles. Names will appear red until you click OK to save changes. Select checkboxes for users who are Workgroup administrators (they will be able to edit this workgroup). To remove a user from the Workgroup, select the user from the middle panel and click on the Remove Users from Workgroup button. Click OK when finished
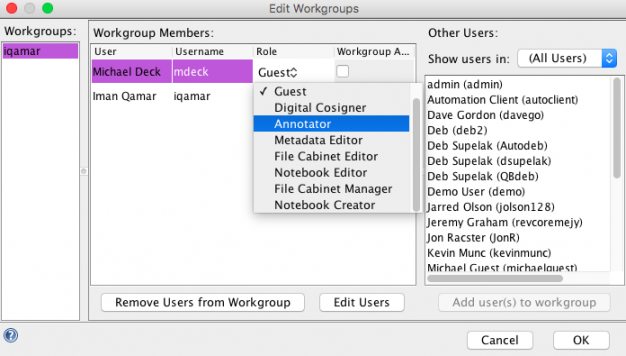
Note that you can use Ctrl key to multiple-select users in the right panel and add them to the workgroup as a batch. The Edit Users button at the bottom of the dialog is another way to change Admin status and role for selected users.
You can also add the members of a different workgroup that you administer to this one. The drop-down list in the upper right allows you to do this easily.
Managing Signature Groups is discussed later.
< Creating a Workgroup up Manage Capabilities >