File Cabinets, Folders, files of all types, Notebooks, Notebook Sections, Notebook Pages, and Notebook Entry Contents (i.e., embedded files) can be printed to PDF within CERF. You do not need a PDF writer installed on your machine for this. The PDF becomes a CERF Resource and and is stored on the CERF server.
For example, to print a Notebook Section select the Section in the Document Tree, right-click, and select Print > Print to PDF. To print a Notebook Page while it’s displayed in the Notebook Viewer, click the Print button (circled below) on the Page toolbar.
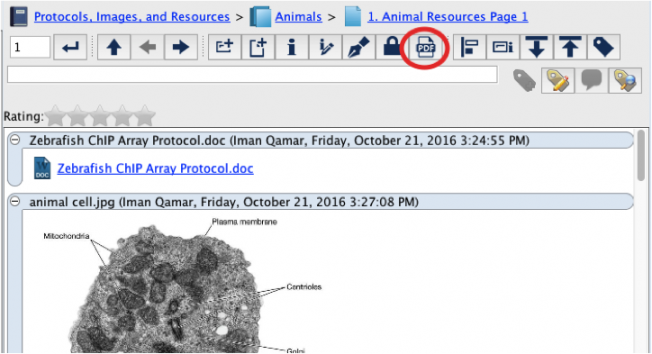
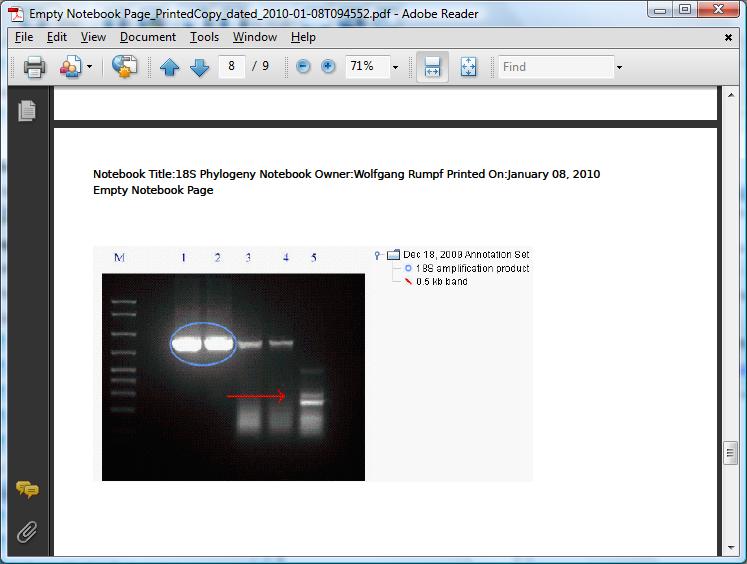
Note that the entire print stream is displayed in the printed copy (i.e., there is no need to switch the display from Link to Document or PDF before printing these files on the page).
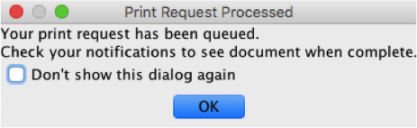
The Print Request will be queued
When the print job completes, you can access the PDF by opening the Notifications pane (click on the Notifications icon above the middle panel). Note: If there are a lot of concurrent print jobs, the process may slow down. This depends on your server and also depends on a business policy setting, which your System Administrator can change if necessary.
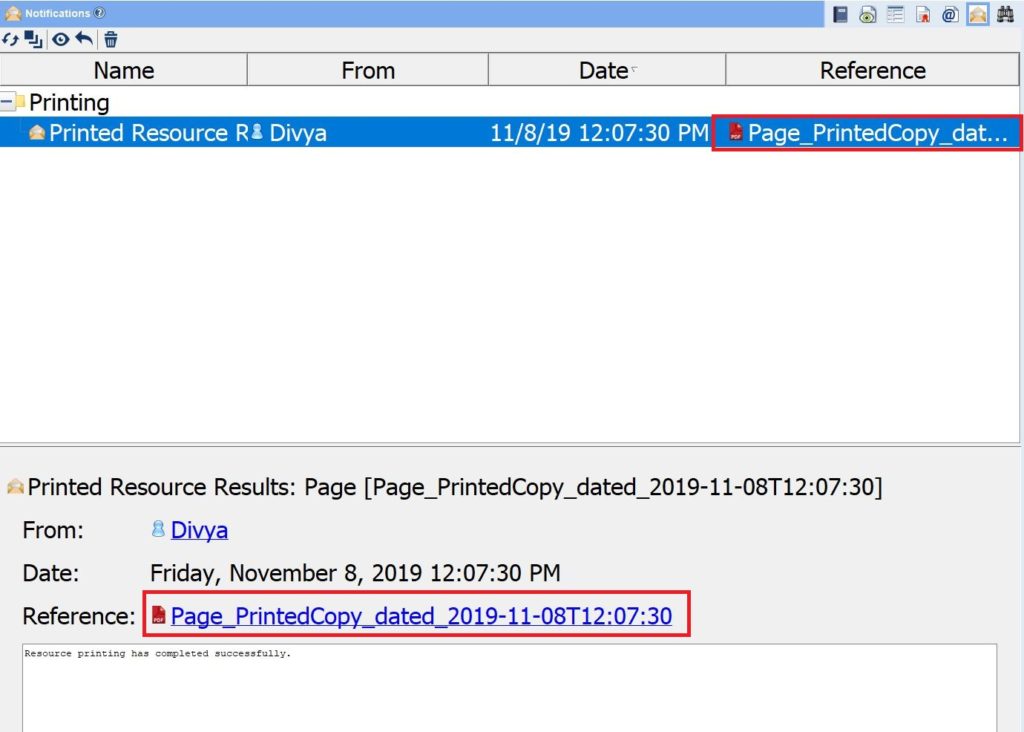
To locate the Printed copy, open the Notifications pane. Click on the Refresh button to see updated Notifications. You may have to wait to see the printed copy, depending on the number of print jobs in the queue. Expand the top-level node for Printing (if Notifications are grouped by Type) and select the PDF printed copy of interest. Either click on the View Resource button ![]() or right-click and select View or View In to view in either the Center Panel or New CERF Window. Left-click on the reference link (circled below) to open in Center Panel.
or right-click and select View or View In to view in either the Center Panel or New CERF Window. Left-click on the reference link (circled below) to open in Center Panel.
If the View action is not enabled, it is probably because the selected printed copy is not the most recent and has been invalidated. If changes have been made to the part of the Notebook that was previously printed, the existing printed copy will be invalidated (inactivated). When you print it again a new version will be printed with a new Print notification (this is the default business policy setting).
Once a page has been printed, and if you have not made any changes, the next time you want to print, you will see the following message:
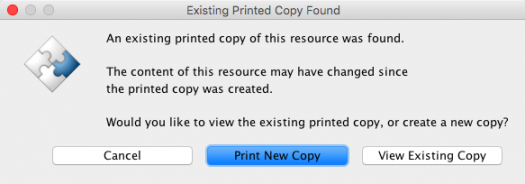
A business policy determines whether only the latest printed copy will be active or all the printed copies will be active. The default setting is to inactivate prior printed copies. When set to inactivate, only the latest version of the pdf will be available.
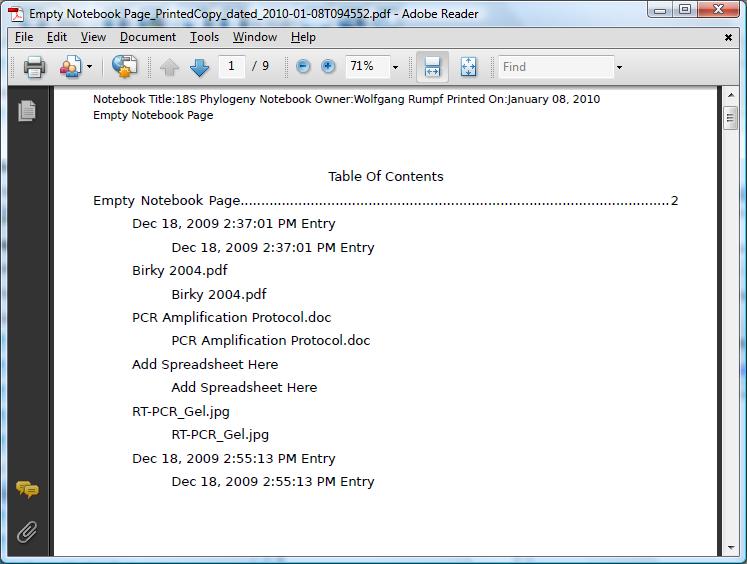
The printed copy is a resource in CERF and is stored on the CERF server. The printout displays a table of contents with each entry on a separate page.
Note that if the visibility is changed (i.e., a shared collection is changed to private or a private collection is changed to shared), an existing printed copy of that resource will be inactivated.
Business Policies:
- PRINTING_PAGE_SIZE: allows you to set the page size to US Letter or A4 for certain CERF resource types. If you are printing a standard MS office document or other file that contains page size information, then the page size defaults to whatever the file itself specifies.
- PRINTING_PRINT_ENTRY_HEADERS: allows you to choose whether or not to include the CERF generated headers on each page.
- PRINTING_PRINT_METADATA_ON_PRINT: allows you to choose whether or not you want to print the metadata
- PRINTED_COPY_ACTIVITY_STATUS: allows you to choose whether or not only the latest printed copy will be active or all printed copies will be active.
Sections in this Topic
< Notes up Official Printed Copy >