To add a file from your computer to CERF, first mount (display) a File Cabinet or Notebook in the Document Tree. Your access role in the Workgroup that owns the File Cabinet or Notebook must allow you to add resources to CERF. For File Cabinets you must be at least a File Cabinet Editor and for a Notebook, you must be at least a Notebook Editor. To find this information, select the File Cabinet or Notebook in the Document Tree and open the Info panel on the right-hand side of the CERF application.
There are several ways to submit (register) a new document to CERF:
- Use drag and drop: submit documents to CERF from your desktop or from a file system mounted in CERF (click on Local Files). You can move single or multiple files and directories from your computer to File Cabinets or Folders in CERF. Add single or multiple files to a Notebook Page to create Entries on the page (directories cannot be added to the Notebook). See details on creating Notebook Entries from files on your computer.
- Right-click on a File Cabinet or Folder in the Document Tree and select Edit > Add Resource to add Resources that are stored on your computer’s hard drive. Note that for Notebooks you right-click and select Notebook > New Entry.
- Create a new instance of a Resource that is already in CERF by right-clicking on an existing CERF Resource and selecting Edit > Copy. Select the new File Cabinet or Folder destination, right-click and select Edit > Paste and choose Paste As New Resource. (Or drag a resource from one location to another. However, do NOT drag a resource within the same File Cabinet or Flexible Notebook because this will move the resource; you must hold down the Ctrl/Option key while dragging within a collection if you want to use this method to copy. This is explained in the Copying section.)
- In the Notebook, use Copy/Paste > Quick Paste on the right-click menu to copy a file from your computer and add it to CERF (this bypasses the step of editing Resource Type and Metadata).
When you first add a Resource to CERF, a dialog is launched asking if you wish to edit Type and Metadata for the Resource. Note that you can skip this step by selecting the “Quick Add” preference (Tools > Options).
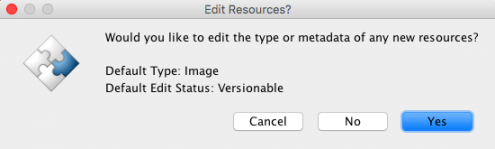
If you bypass this step by selecting “No,” the default Resource Type is applied and default metadata are added (e.g., Title, Resource Type, Creation Date, Last Update, Contributor, and File Size).
A Resource Type tells CERF what actions may be performed on this resource and the Resource Type may contain controlled vocabularies and other specialized metadata. Metadata are used when searching for documents, so you will save time later by adding terms now.
If you select “Yes” on the Edit Resources dialog, the Choose Resource Type dialog is launched first. All CERF installs contain the basic Resource Types: Document and Image. If your workgroup belongs to a Domain that has specialized Resource Types, you may see other choices. Select a Resource Type and then select the starting Edit Status from the drop-down list at the bottom of the dialog. Note that edits you make to a Versionable Resource will replace the original; edits made to a Version-Controlled Resource are saved as a new version that is kept in the audit trail (version history), and Final Resources cannot be edited. You can also set a default document edit status as a preference (Tools > Options). Click OK:
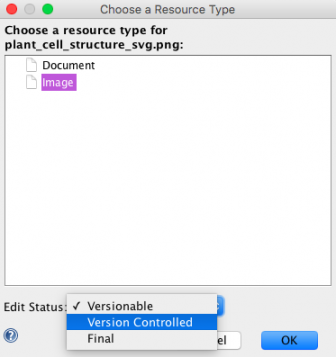
Note that when you add a batch of files, you will see a checkbox on the Choose Resource Type dialog that allows you to assign the same Resource Type and Edit Status to the entire batch of files at the time of submission.
Next the Edit Metadata dialog is launched for this Resource:
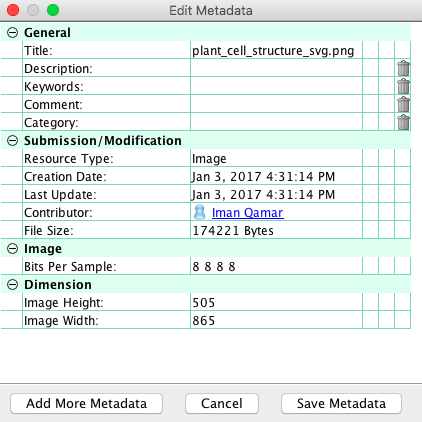
You can add or edit metadata (with the exception of Submission Metadata). Click OK when finished.
The Resource submission will now be completed and the new Resource will be displayed in the Document Tree in the File Cabinet or Notebook where it was added. To display the Resource Type and Metadata, select the Resource and open the Info panel. This information is shown in the Metadata pane.
Note that you can change the Resource Type later (but only if the Resource is versionable and neither the file nor its metadata have been edited), and you can edit/add metadata at any time by right-clicking on the Resource and selecting Edit > Edit Metadata.
Sections in this Topic
< Data Management up Supported File Types >