Create a CERF Text Entry. There are several ways to do this:
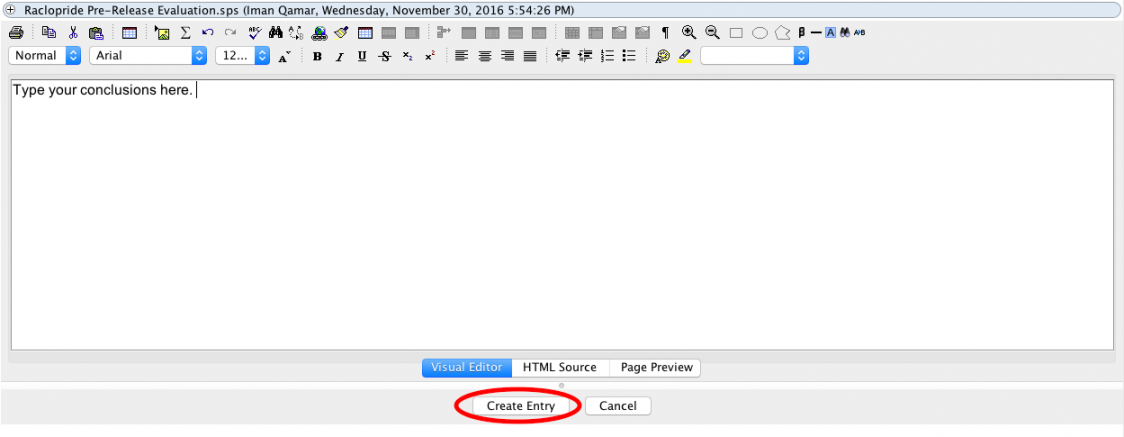
- Type Directly. The easiest way to make a new text entry is to double click on a page displayed in the Notebook Viewer. This opens the inline text editor. Just start typing. When you have finished, click on the Create Entry button (circled below). This closes the text editor and creates a new resource in CERF.
- Copy and Paste Text. Another method for creating a text entry is to copy text from a document and paste it into the text editor. For this method, double click on the Notebook page to open a new text editor, copy text from another document, and before closing the original document, paste the text into the editor. If the text editor is not open, the action of pasting launches the Choose Paste Type dialog. Select Paste as Text. This opens the text editor and the text copied in. (Note that when you copy cells from and excel spreadsheet, you can paste these into the text editor “as text” if you wish to edit the data or “as image” for the best printing option).
- Drag and Drop Text. You can also copy text and drag it from a document and drop into an opened text editor on the Notebook page (first double-click on the Notebook page to open a new text editor). If the text editor is not open, the action of dropping onto the Notebook page launches the Choose Drop Type dialog. Select Text. This opens the text editor and the text copied in.
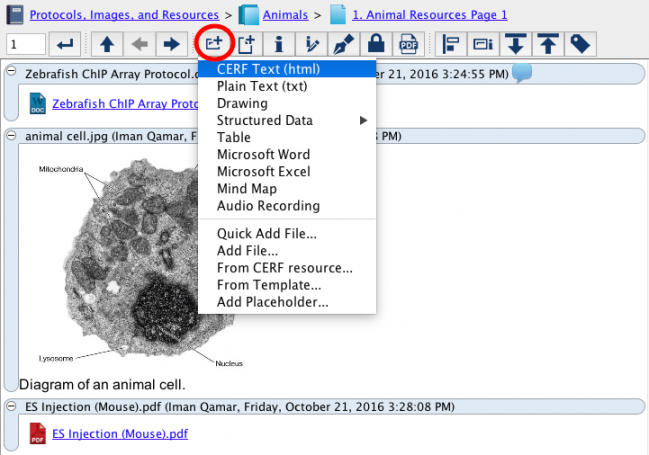
- Add Content to the Notebook Page using the New Entry button or right-click option. Click the New Entry button
 on the Notebook Page toolbar. Select CERF Text (html) from the drop-down menu. This opens the inline text editor on the Notebook Page.
- Select a Notebook Page in the Document Tree and click on the New
 button. Select New Entry. Or right-click on a Notebook Page in the Document Tree and select Notebook > New Entry. This creates a blank CERF Text entry on the Notebook Page, which you can then Checkout and Edit.
Adding an image to a text entry
Although you can insert an image into a text entry using the Insert button on the text editor, we recommend that you add images to CERF as separate entries (with a caption, if you wish to add an explanatory note). The reason for not inserting an image into a text entry is because you will not be able to edit the image, nor can attach special metadata to the image that will be visible in other contexts. Additionally it’s not easy to get an image out of a CERF text entry later (e.g., for later publication). You can drag an image from your desktop and drop it into an open text editor (at the time you are first creating the text entry or later when you have checked it out for editing). However, the image will not be treated as a separate CERF resource and you will not be able to edit or manipulate the image. Note that the CERF Text editor does not allow you to add an image by dragging the image from the CERF Document Tree (i.e., an image that is already in CERF).
Text Editor Toolbar
When the text editor is open (double-click on the Notebook Page to open the editor), you can use the text editor toolbar for additional options (see image above). You can create a table in the text editor using the table tool (the table will have black borders). Use the Symbol button to create symbols. You can now select a symbol you use frequently from a list of recently used symbols. See the FAQ about adding hyperlinks to your text entries. Note that there is a user preference (Tools|Options|Notebook) to set the default font for Notebook text entries.
When you have finished, click on the Create Entry button at the bottom of the text editor.
Make Changes to a Text Entry
Select the Text Entry by clicking on the blue selection bar. This displays the Entry Toolbar. Click on the Checkout and Edit button ![]() . This checks out the text entry from the CERF server and creates a local copy. Make changes and click on the Save and Checkin button at the bottom of the text editor when you are finished.
. This checks out the text entry from the CERF server and creates a local copy. Make changes and click on the Save and Checkin button at the bottom of the text editor when you are finished.
TIP: A CERF text entry is actually like a miniature website and may contain several files that are bundled together as a “.cerfht” file. If you export a .cerfht file out of CERF you can then change the extension name to .zip, unpack the zip bundle, and examine the html and other files within.
TIP: You can click the “HTML Source” button at the bottom edge of a CERF text entry to see and edit the html source code. You can paste in pieces of html code from websites here to recreate the content and look of that website inside of your CERF entry.
< Plain Text (txt) up Structured Data >