Controlled documents can be utilized with placeholders in notebooks. This feature allows users to ensure that people fill out the appropriate controlled documents before getting access to certain workgroups or information. This can also be used to force a user to select an approved protocol that has been assigned to them and that they are approved to use, and insert it into a notebook page placeholder as part of a specific workflow.
Click here to learn how to initiate a controlled document.
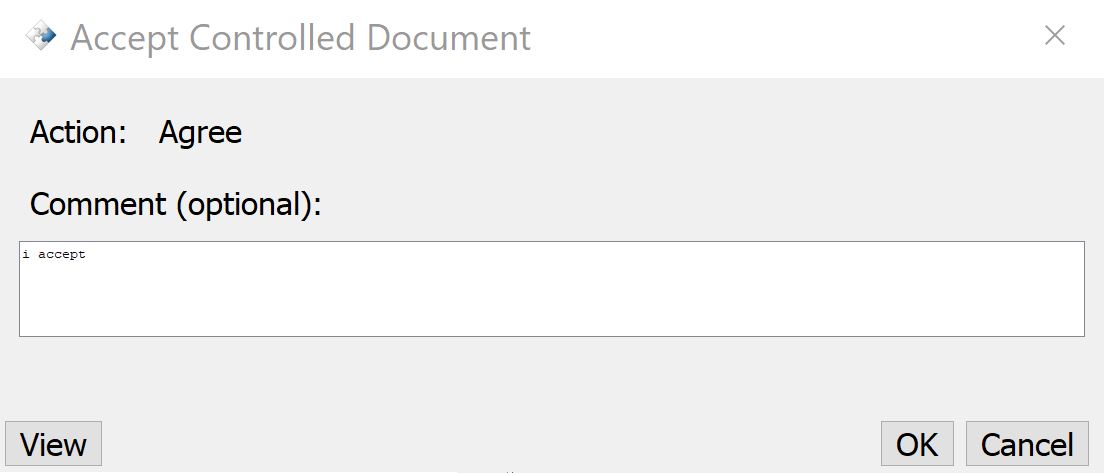
Accept a controlled document:
- Navigate to the controlled documents pane.

- Select the relevant controlled document and click the thumbs up icon in the toolbar to start the acceptance process.

- Type in your comment and press accept. If the OK button is grayed out, you will have to view the document before you can press OK.
Create a controlled document placeholder:
- Create or access a Notebook.
- Create or access a Notebook Page.
- Click the new entry icon in the notebook toolbar and select “Add Placeholder”.
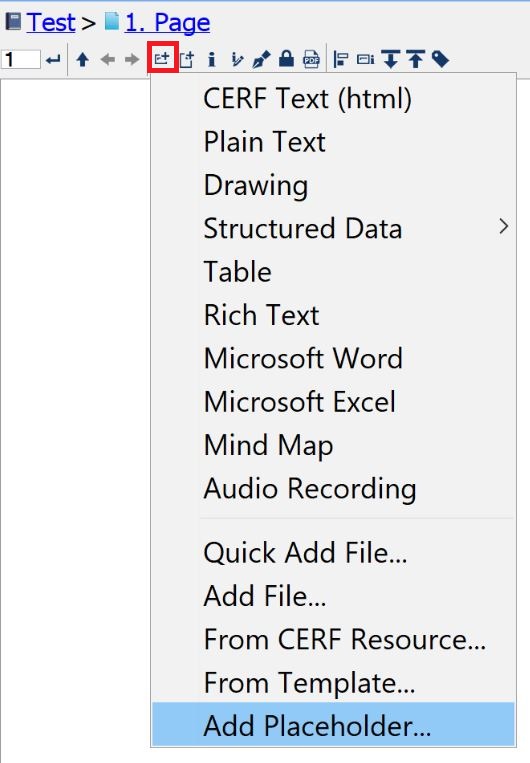
- Select “Only allow Controlled Documents”.

- Once the placeholder is made, only an accepted controlled document can be attached to it.
Use a controlled document placeholder
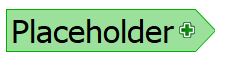
- Click the flag and select “Insert Controlled Document”.

- Select the relevant controlled document from the list and click OK. You can also drag a controlled document from the controlled documents pane and drop it on the flag.
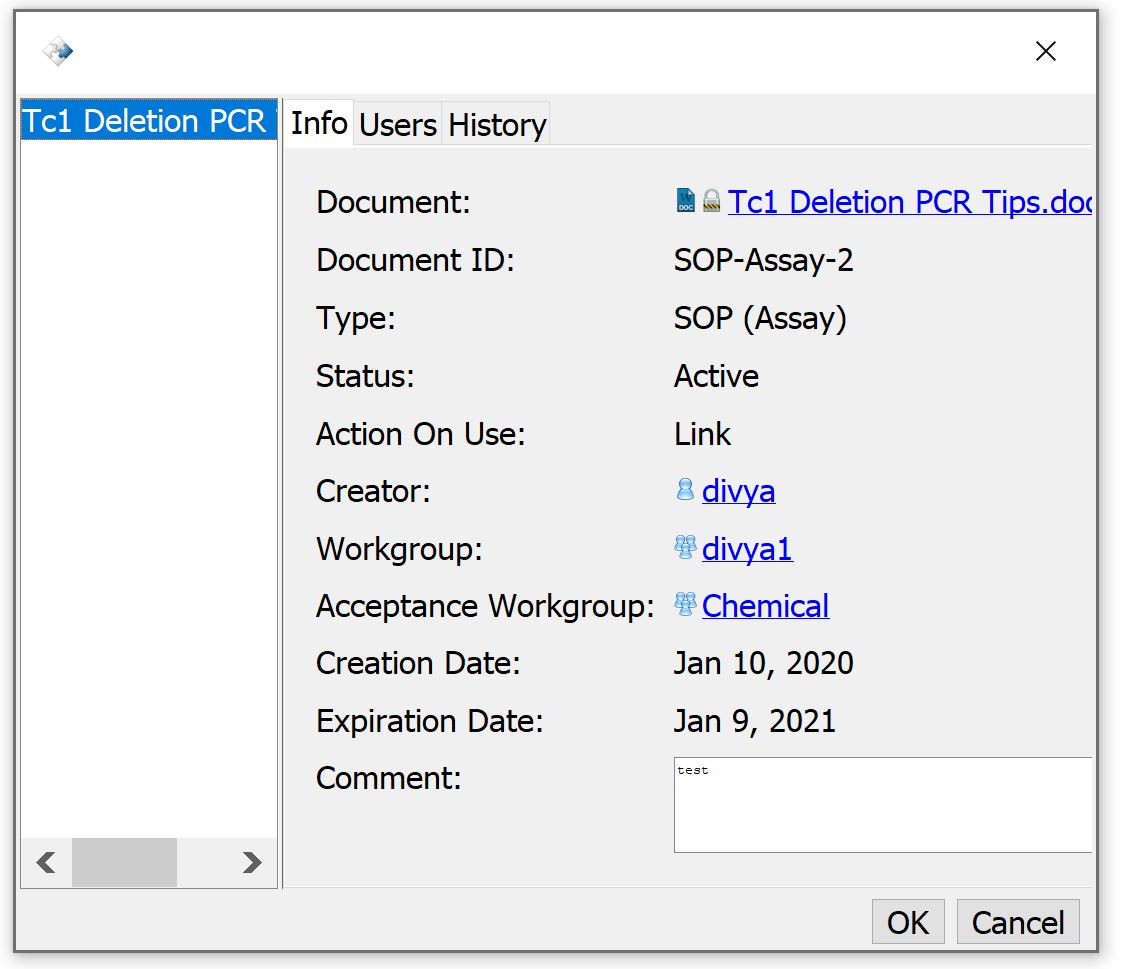
- You can now click the top link to see the document’s information in the controlled documents pane OR click the bottom link to view the controlled document in the external file viewer.

A notebook cannot be signed unless all of the placeholders have been completed.
< Placeholders up Tables >