Creating a Table
Tables can be created within a Notebook page as an entry type.
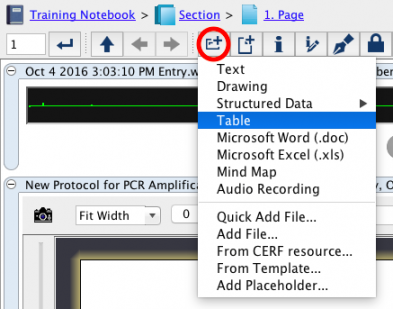
1)Click on the “New Entry” ![]() button and select “Table”.
button and select “Table”.
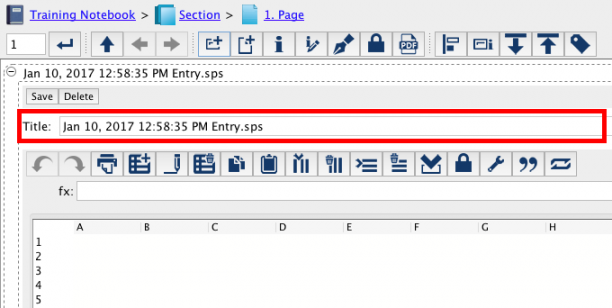
2) A default Table will appear as a Notebook entry. The Table will be given a generic name with the date and time (shown below). You may rename the Table as you wish, prior to the first save, by clicking on the Title bar (shown in red) and entering the name you want for the table.
3) You can either delete or save the table
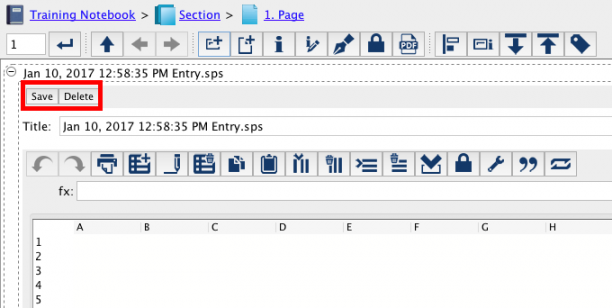
Once saved, you can check it out for editing later if you want to make any changes.
Check out and Edit
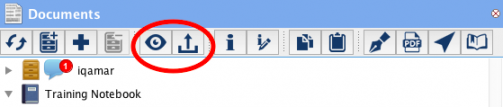
1) Go to the document tree and select the appropriate .sps entry. Select the “check out and edit” icon from the icon toolbar.
OR
2) Select the table entry so that the border is colored a dark blue, then select the “check out and edit” icon from the toolbar.
OR
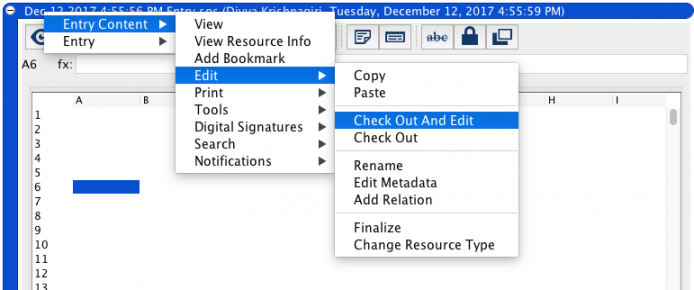
3) Right click on the bar containing the date of creation and author name and select “Entry Content” -> “Edit” -> “Check out and Edit”
One of the best features of the table is its ability to hold CERF Resources. Find an in depth tutorial on how to best utilize this feature here.
You can also create heat maps, perform litmus tests and get the average value for a data set by utilizing the Action feature.
You can also use the table tool to perform functions and calculations. Find a full list of the calculations here.
Note: When editing cell contents of a table, you must click out of the cell or press the ENTER key (for example, click into a neighboring cell) in order for changes to be fully realized.
Sections in this Topic
- Inserting Controlled Vocabulary
- Inserting an Action
- Inserting a CERF Resource
- Icon Toolbar
- Table Tool Functions and Calculations
< Tables up Table Entry Toolbar >