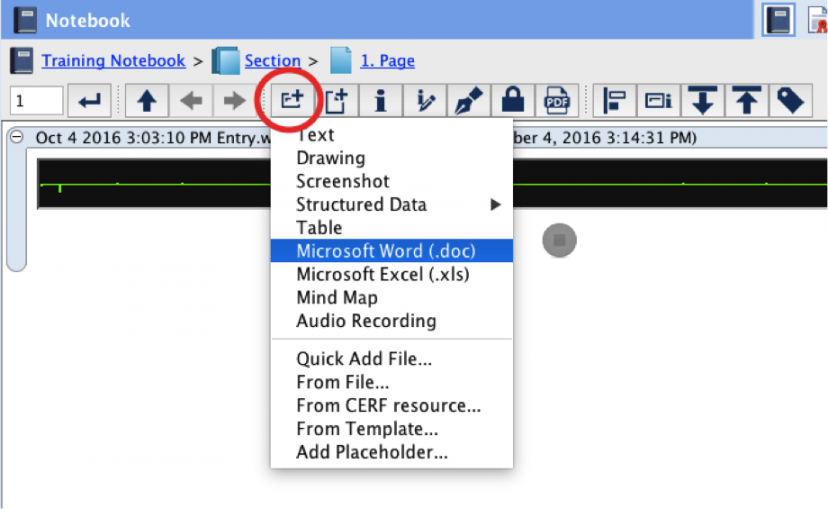
Click on the New Entry button ![]() and select from the drop-down menu Word (.doc) or Excel (.xls).
and select from the drop-down menu Word (.doc) or Excel (.xls).
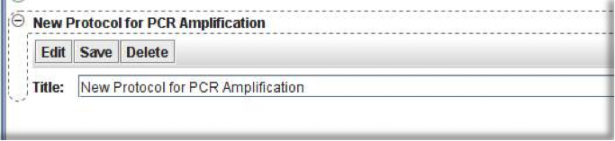
This opens the appropriate application for creating a Word or Excel Entry. When the document opens, type in content and click on the Save button or select File > Save within the application. Do not use “Save As”, because this will save the file locally rather than to CERF. Close the document. Note that the Entry has not yet been fully created. You can enter a title by typing it into the text box shown below. If you do this, be sure to include the appropriate file extension. Whether or not you change the title at this point, click on the Save button to create the Entry. Note that you can change the title at any time by editing the resource metadata.
Custom Word / Excel Entry
Users have the ability to create a custom Word / Excel entry to use as the default new Word / Excel entry in your Notebook page. Please visit Custom Notebook Entries page for further information on how to install custom entries.
< Table Functions/Calculations up Custom Entries >