CERF 6.0 Documentation
Go to CERF 5.3 Documentation
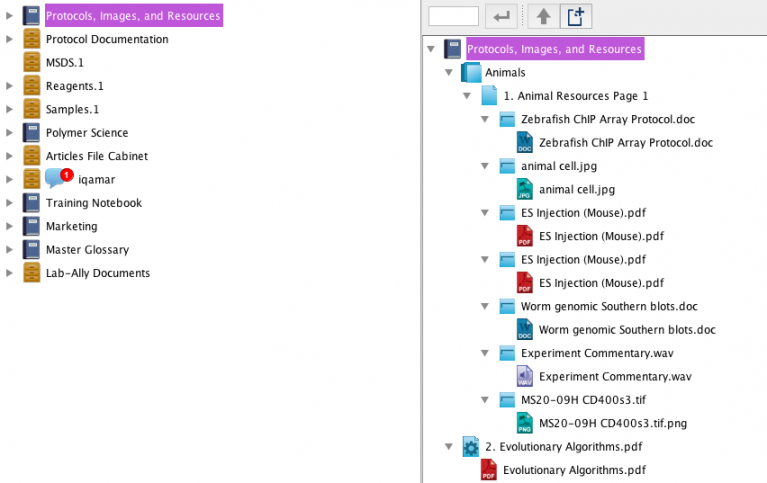
To view any of your Notebook Resources, first mount the Notebook in the Document Tree if it’s not already displayed.
Notebook or Section Table of Contents
Double-click on a Notebook ![]() or Section
or Section ![]() to display the Table of Contents in the Notebook Viewer. You can navigate from the Table of Contents by double-clicking on the Page icons. Recall that double-clicking on a document, image, or other file may check it out for editing, depending on your preference settings. Another way to display the Table of Contents is select the Notebook or Section in the Document Tree and click the View Resource button
to display the Table of Contents in the Notebook Viewer. You can navigate from the Table of Contents by double-clicking on the Page icons. Recall that double-clicking on a document, image, or other file may check it out for editing, depending on your preference settings. Another way to display the Table of Contents is select the Notebook or Section in the Document Tree and click the View Resource button ![]() or right-click on the Notebook or Section and select View.
or right-click on the Notebook or Section and select View.
Notebook Page Contents
Double-click on a Page ![]() to open it in the Notebook Viewer. Click on the Expand All
to open it in the Notebook Viewer. Click on the Expand All ![]() button on the Page toolbar to display all of the Entries on the page. Another way to display the Page contents is to select it and click the View Resource
button on the Page toolbar to display all of the Entries on the page. Another way to display the Page contents is to select it and click the View Resource ![]() button or right-click on the Page and select View.
button or right-click on the Page and select View.
Notebook Entries
Select an Entry by clicking on the selection bar or header. This displays the Entry Toolbar. Click on the View button .![]() to view a read-only copy. Note that many files (MS Word, Excel, PDF) are automatically displayed inline, and most can be viewed inline (click Change Display Type on the Entry Toolbar).
to view a read-only copy. Note that many files (MS Word, Excel, PDF) are automatically displayed inline, and most can be viewed inline (click Change Display Type on the Entry Toolbar).
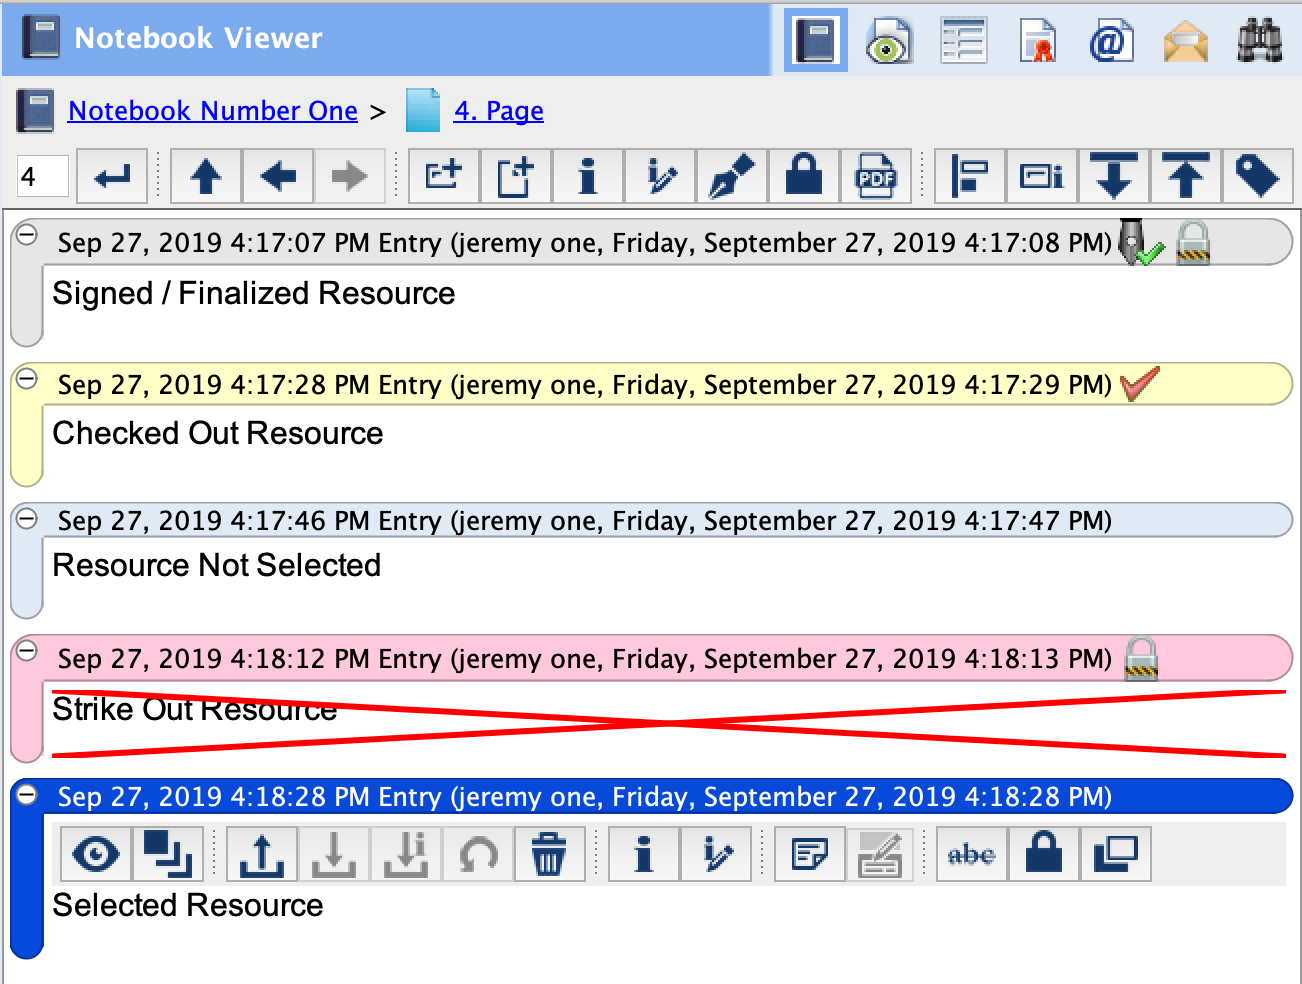
Notebook Entry States
The next image illustrates different states; from top to bottom on the Page:
- A gray selection bar/header indicates that the Entry has been committed (finalized). In the example below, the Entry was made final at the time of signing.
- A yellow selection bar/header (and the red checkmark icon) indicate that the Resource is currently checked out from the server.
- A light-blue selection bar/header shows that the Entry is not selected.
- A red selection bar/header indicates that the Entry has been struck out (also shown by the red X through the entry).
- A blue selection bar/header shows that the Entry is selected (note that the Entry Toolbar is displayed when the Entry is selected).
Sections in this Topic
< Page Numbering up Notebook View Management >