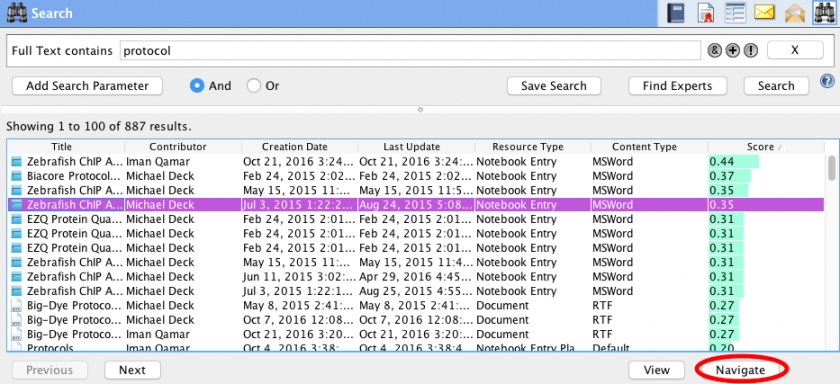
Your search results display all the CERF resources that match your search criteria that you have access to (through workgroup membership). The score indicates how close the match is. Search results are displayed as blocks or pages with 100 results on each page. Use Previous/Next buttons at the bottom of the Search dialog to move between pages of results. The search is rerun on each page, and so there is a slight chance that a document submitted after the search is initiated will be missed if it has a high return score and if the user has already paged through the highest scores.
Sort Results
Click on the header for a column to sort a column alphabetically or numerically (for date or score). Note that you can also drag a column to the right or left by clicking on the column header and dragging.
Actions on Search Results
Select a result of interest and click on the buttons at the bottom of the Search dialog to View, Navigate, or View Info about the Resource. These buttons are enabled if you have appropriate permissions. Right-click on a search result for a complete menu of available actions, which will be configured according to your access role for the selected Resource.
You can also drag resources from the list of search results to other locations in CERF. For example, if the Local Files panel on the left of the main window is open, you can drag items from your search results directly to your local computer. You can also drag search results (or drag while holding the option/alt key) to create new Links or CERF relations in the CERF Document Tree, or to replace the current version shown in the Document Tree with some other version that you located using the search tool. If a Notebook is currently loaded, you can also drag search results up to the Notebook icon at the top left to add the selected resource to the bottom of the currently loaded page (if your role in that notebook permits this action).
TIP: when you drag search results to new locations in CERF, the system checks which role and permission you have for the destination and will offer only role-appropriate outcomes for your drag action. (i.e. either a “See Also” relation, a Link, a new Version, a New Resource, or nothing at all if you have insufficient permission. If CERF will not let you do what you want or expect when you drag resources from one place to another, always remember to check ownership and your role for both the resource you are dragging and the destination you are dragging it to.
Navigate
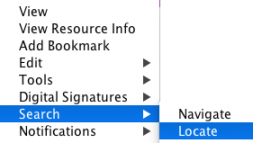
If you have just completed a Search in CERF, you can find which collection a resource is in by selecting it in the Search Results and clicking on the Navigate button, or by right-clicking and choosing Search > Navigate. The Navigate action highlights the selected Resource in the CERF Tree. If the collection in which it is found is not mounted, CERF will automatically mount it for you so that the parent File Cabinet or Notebook and all of it’s content is now accessible in the tree with the selected resource highlighted.
Locate
For resources that exist as links in different locations or as different current versions, you can locate all instances of a specific current CERF resource by right-clicking on it and selecting Search > Locations. The Locate dialog box then appears.
This tool will help you determine which resource you want to work with if several copies of a resource appear in search results.
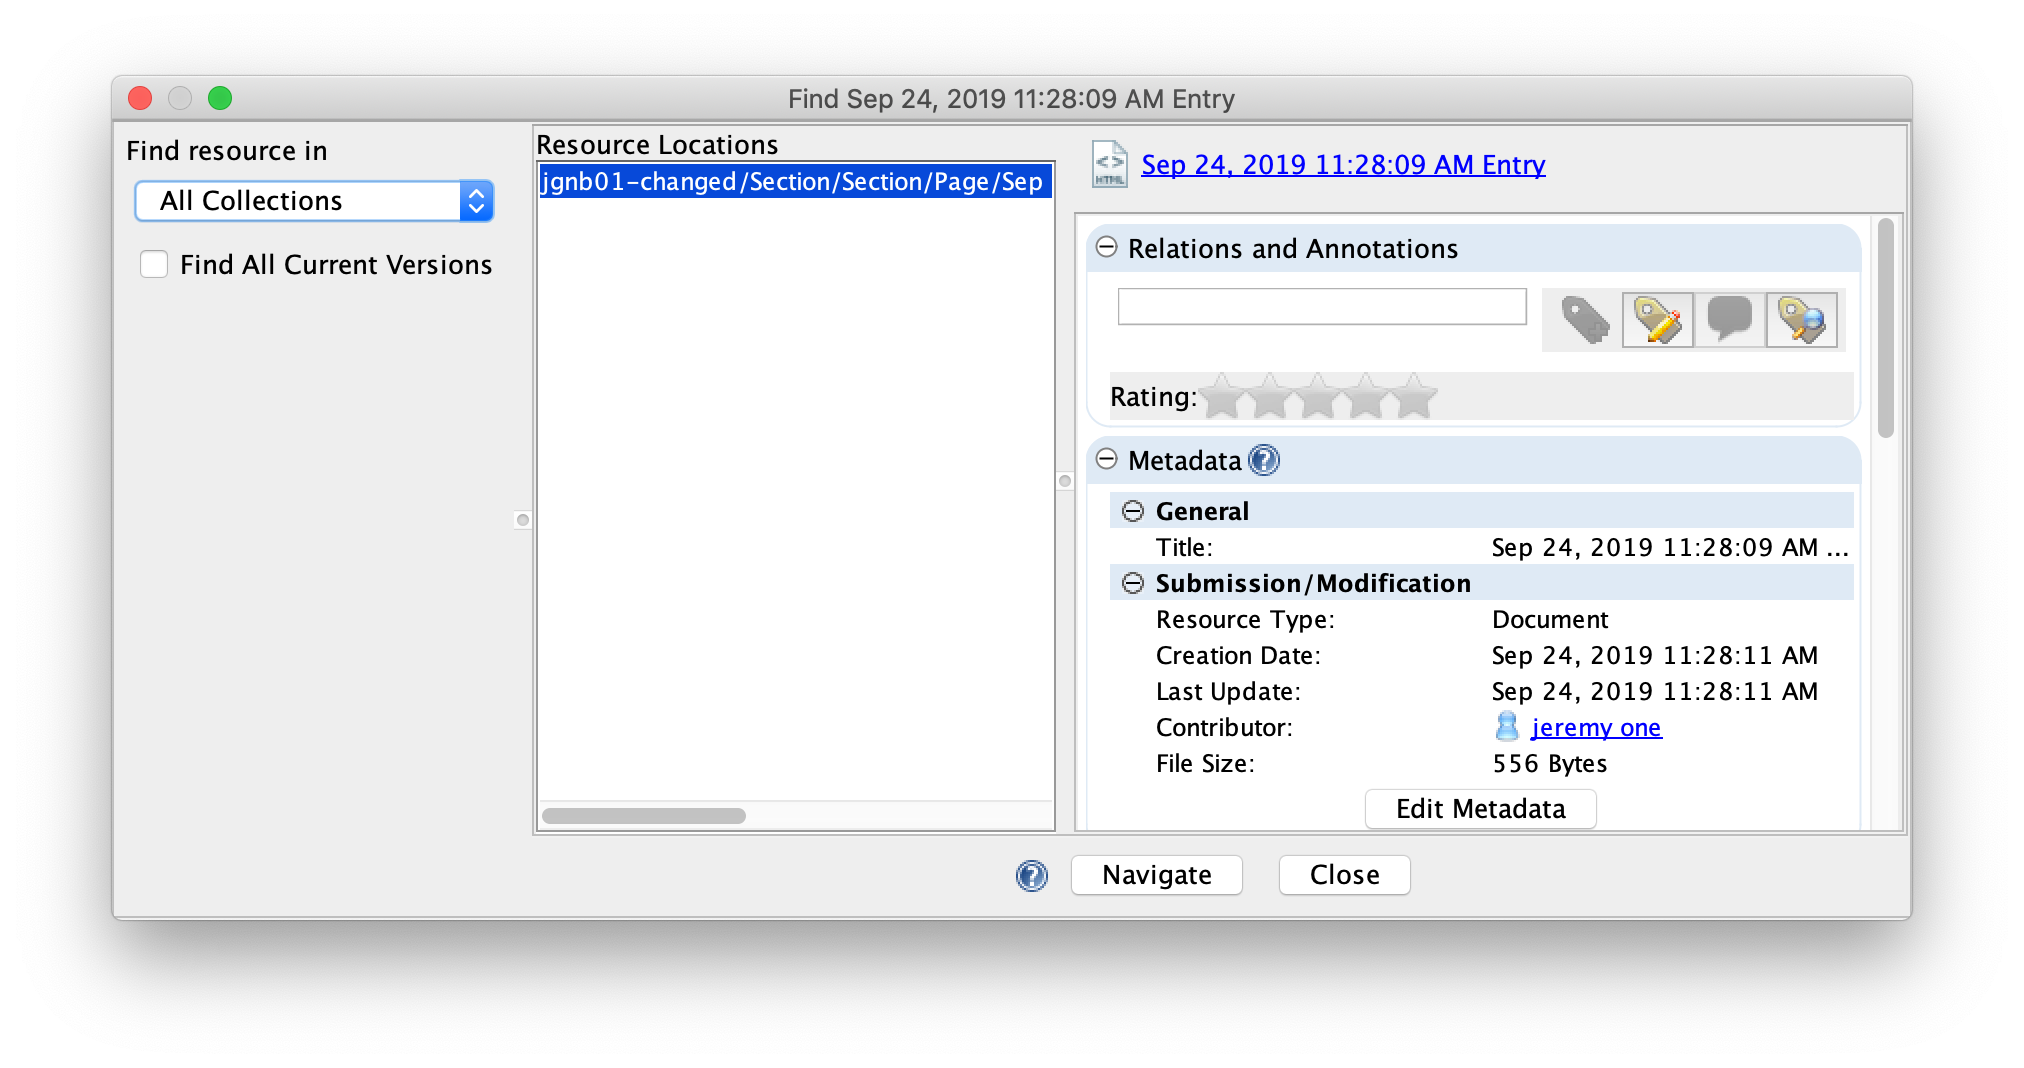
In the left panel of the Find (Locate) dialog, choose which collection types to search for links to a resource from the drop-down list. The “Find All Current Versions” checkbox will limit the search to only current versions of a linked resource. Unselecting this checkbox will include all historical versions of a resource. The Resource Locations are displayed in the middle panel. Select a location to see the Resource Info panel on the right. Click on “Navigate” to display the Resource in the Document Tree. When you click on the Navigate button, the collection will be mounted in the CERF Tree and expanded with the Resource highlighted. finally click on “Close” to close the search window.
View Info
You can view more information about any selected search result by clicking on the View Info button at the bottom of the Search dialog.
Tip: Opening multiple search windows and running the same search in each of them can be a good way to then compare the Resource Info for multiple similar items.

Save Search
If you want to save a particular search with the parameters you selected, click on the Save Search button. You will be asked to name this search. You can rerun the search later by clicking on the Saved Searches icon to the left of the application. The results of a saved search are automatically updated every time you run it. Think of saved searches as being like dynamic “Smart” folders that you can use to watch specific bundles of data as they change over time. For example you can use a saved search to see in real time everything that has been contributed by a specific user.
Find Experts
If you don’t see Resources in your search results that you suspect or know are in CERF, you may be able to find other users who can help you by using the Find Experts search. There may be any number of reasons why you do not have permission to see some sorts of resources, but ultimately the compliance rules of US 21CFR11 require that you are only allowed to see data that you been given have specific permission to see, even if you are actively searching for it.
< Search Parameters up Find Experts Search >