CERF 6.0 Documentation
Go to CERF 5.3 Documentation
By default, when CERF opens the first thing you will see is your Notifications loaded in the middle panel.
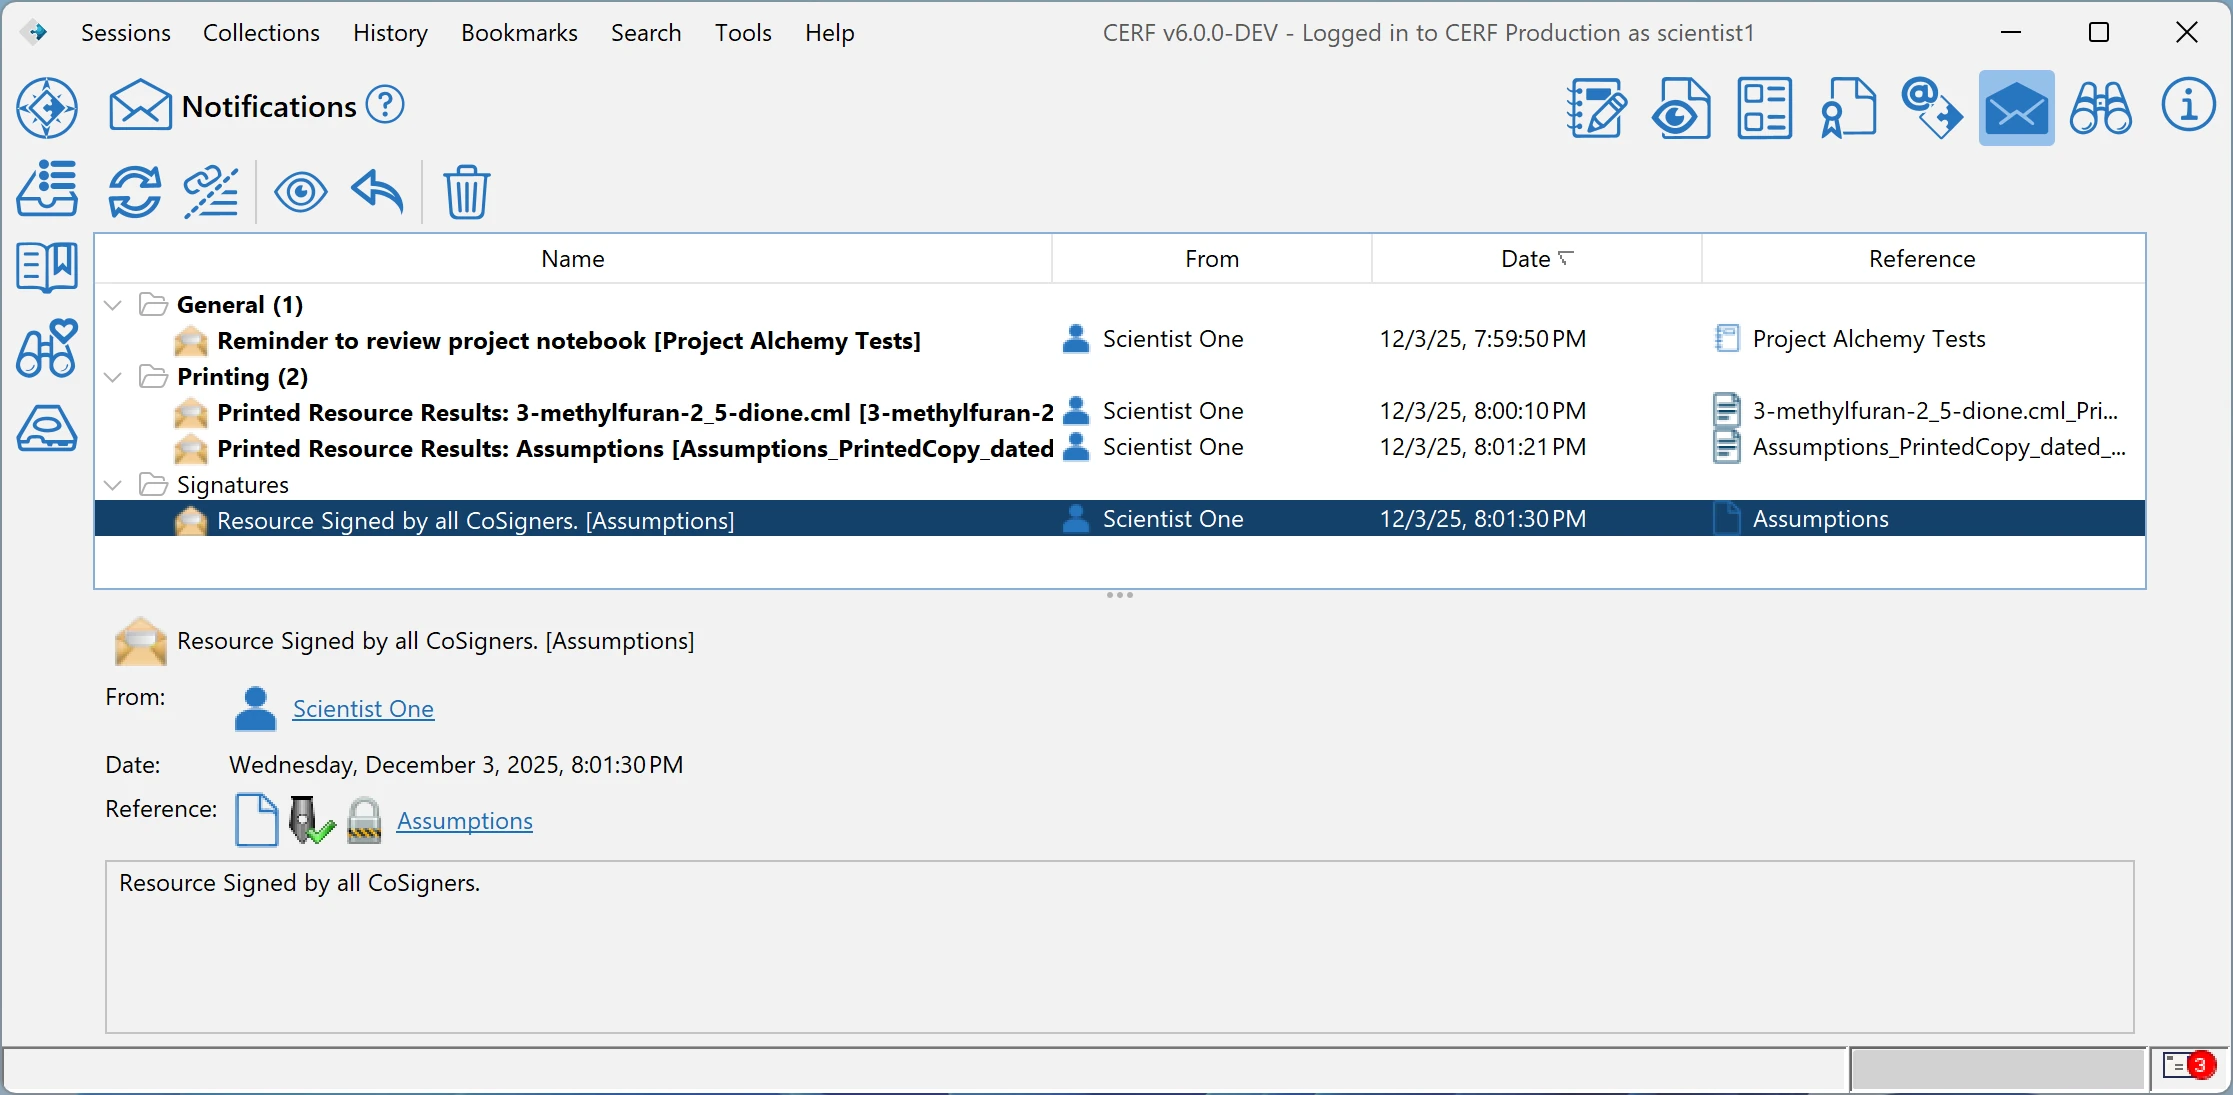
Both Left and Right panels are hidden at first. Note that icons to the left will open panes in the Left Panel and the info icon ![]() to the right opens the Right Panel. The icons on the top right open the various functional areas of CERF in the middle panel. You can click on the icons in the top right to switch from “Notifications” to other functional components of CERF. The currently displayed component is highlighted with a filled version of the icon.
to the right opens the Right Panel. The icons on the top right open the various functional areas of CERF in the middle panel. You can click on the icons in the top right to switch from “Notifications” to other functional components of CERF. The currently displayed component is highlighted with a filled version of the icon.
Left Panel (Nav Panel)
To open the left panel, click on one of the icons shown to the left of the application:
 Navigator – When the Navigation pane is loaded, you will see the Navigation Tree, also sometimes called the CERF tree. The first time you log in as a new user, you will see your Personal File Cabinet in the Navigation Tree.
 Checked Out Documents – Displays resources you have checked out for editing.
 Bookmarks – Displays resources you have bookmarked.
 Saved Searches – Displays searches you have saved.
 Local Files – Displays files on your local computer. You can import to CERF and Export from CERF using the local files panel.
Notice that you can include all panes and you can hide them by clicking on the “Close View” ![]() button in the upper right corner of the panel or by clicking the panel icons a subsequent time .
button in the upper right corner of the panel or by clicking the panel icons a subsequent time .
Middle Panel (Content Panel)
The middle panel is an active viewer that allows you to load various CERF components for viewing and editing work and various CERF resources. Click one of the icons on top of the middle panel to change the Viewer. A filled version of the icon shows which component is currently displayed in the center panel. You can swap between different active components without disrupting the content. For example once you have loaded a notebook page in the Notebook Viewer, you can switch to the File Viewer to see high resolution views of individual files, but can then return back to the currently loaded notebook page later by clicking the Notebook Viewer icon.
 Notebook Viewer – displays a hierarchic view of the content of a notebook or a single Notebook page with Entries. Load a Notebook page from the Document pane by double-clicking on the Page or selecting the Page and clicking on the View button.
 File Viewer – displays a hierarchic view of the content of File Cabinets or Folders and can display the content of files in supported formats, or an assigned preview (called the official print copy) for ANY file. Select the File Viewer Icon, then select any file in the Navigation Tree, then click on the View icon
  in the panel toolbar. Load a directory list by double-clicking on a File Cabinet or Folder.
 Data and Forms – displays the experiments or samples that have been created.
 Controlled Documents – Displays your controlled documents (if any) that you have initiated or have been asked to mark.
 Inbox – shows emails that you sent to CERF with comments and attachments.
 Notifications – displays your Notifications (General, Requests to Cosign, Printed copies, Annotations, Controlled Documents that need your attention).
- Search – opens the inline Search. You can enter terms for a full-text search and use Boolean operators to include other search parameters. Your results are shown here with right-click menu functionality.
 Right Panel (Info Panel)
The right panel always shows the Information about a CERF Resource that is selected in the Navigation panel on the left.
Note that you can give yourself more space to work in the Notebook Viewer by hiding the right panel (Info) by clicking on the “Close View” ![]() button in the upper-right corner of this panel (Ctrl-0). To Show the Info again, simply click on the Info icon
button in the upper-right corner of this panel (Ctrl-0). To Show the Info again, simply click on the Info icon ![]() on the right (Ctrl-0). Another way to get more workspace where you need it is to “grab” the vertical separators between the panels and move them left or right to change the width of a panel. When you do this, the top right hand Navigation Tree toolbar icons may be displayed by clicking the drop down chevron icon
on the right (Ctrl-0). Another way to get more workspace where you need it is to “grab” the vertical separators between the panels and move them left or right to change the width of a panel. When you do this, the top right hand Navigation Tree toolbar icons may be displayed by clicking the drop down chevron icon ![]() on the right of the toolbar.
on the right of the toolbar.
Sections in this Topic
< Log In up Left Panel >