CERF 6.0 Documentation
Go to CERF 5.3 Documentation
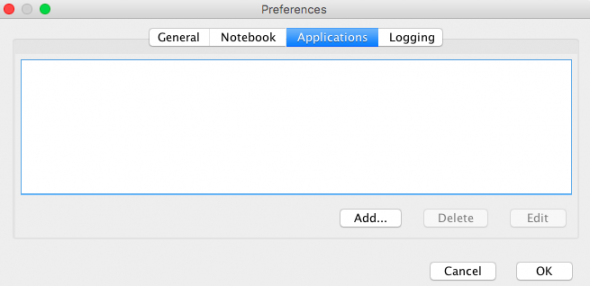
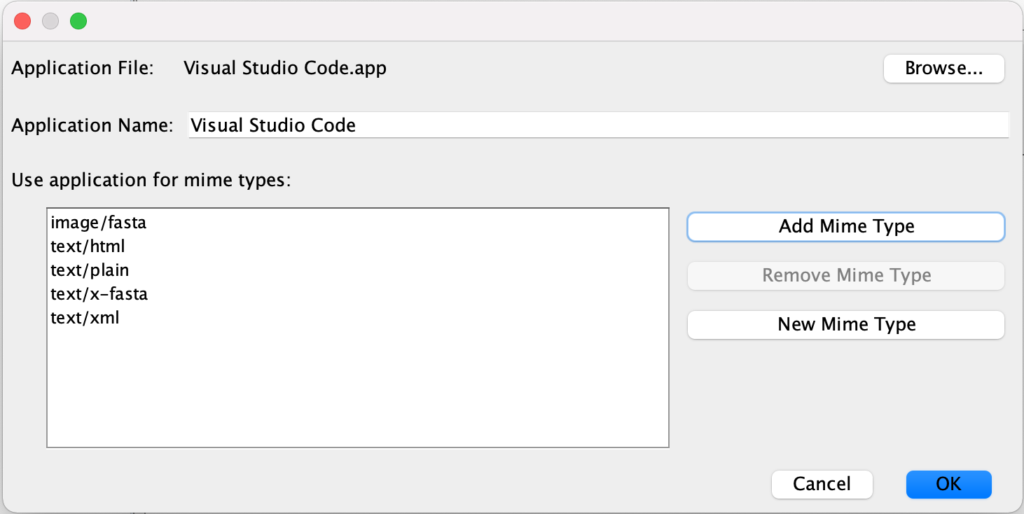
Applications Tab – Assign optional applications installed on your computer to specific mime type extensions. The mime types must be in the list of mime types associated with your CERF server, managed by an admin via the Web Client. (see Content and MIME Types) You will then have the options to View With or Checkout and Edit With the application you associated with the mime type extension. To get started, click Add in the Options > Applications dialog. (Preferences or Settings on MacOS)
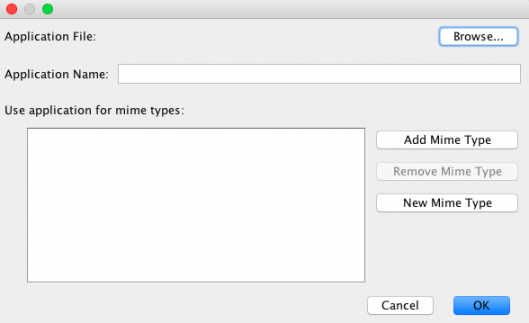
Click Browse to find the Application on you computer. This will normally be a .app on Mac or .exe on Windows. Next click Add Mime Types to select from a list of existing Mime types, or click New Mime Types to add one that is not in the supplied list. (Note, the list does not automatically reflect the list curated by the admin via the Web Client and you may need to add via New Mime type dialog)
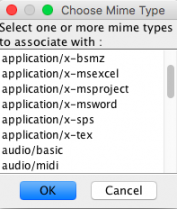
Choose an existing Mime type from the list in the dialog and click OK.
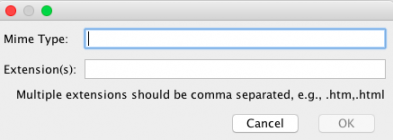
Or enter a “New Mime Type” and appropriate file extensions. Mime types are added as Major/Minor format, for example “text/x-fasta”. Include the dot before each file extension, separating each extension with a comma. Then click OK
After adding a New Mime Type, next click on “Add Mime Type” to select your new mime type from the list and then click OK in the Choose Mime Type dialog.
You can add multiple mime types to be associated with an application
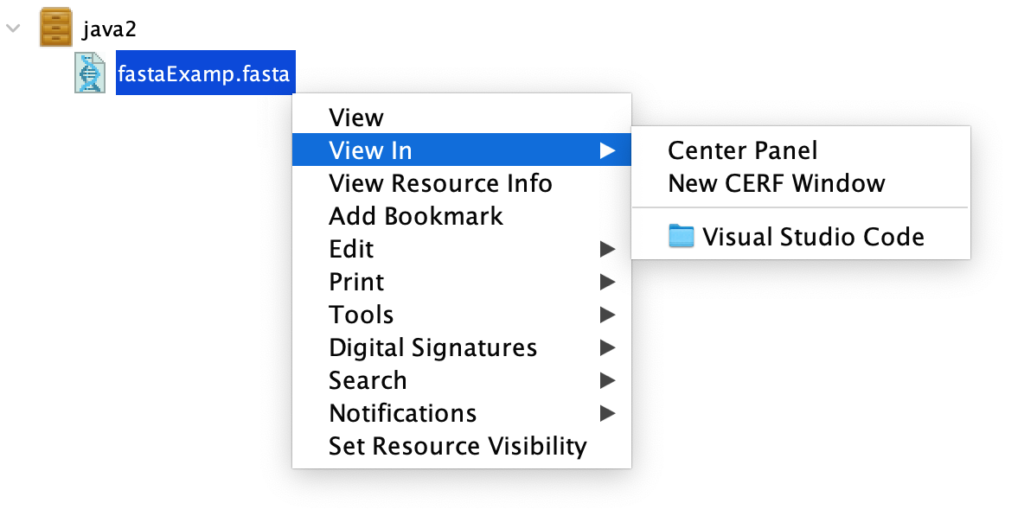
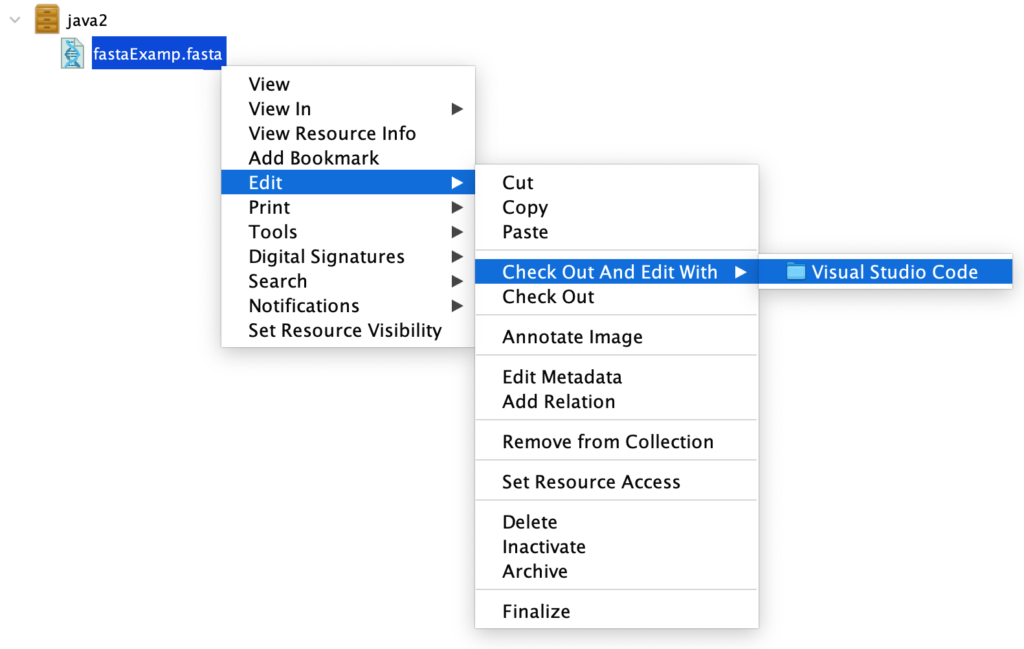
After associating an application to a mime type, you will now see the option to View In and Checkout and Edit with your listed application
< Options – Notebook up Options – Logging >