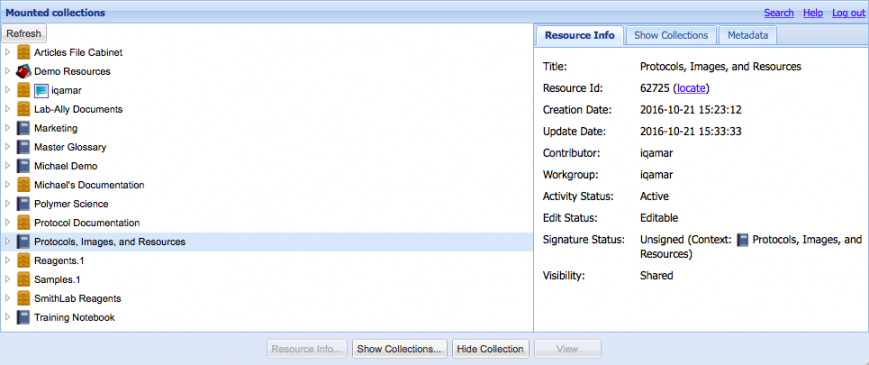
Once you have logged in to the web client, select Account > Mounted Collections. When the page opens, you will see your collections that are currently mounted (displayed) in the Document Tree. You can expand collections to find what you are looking for. Select a Resource to see its Resource Info in the right pane.
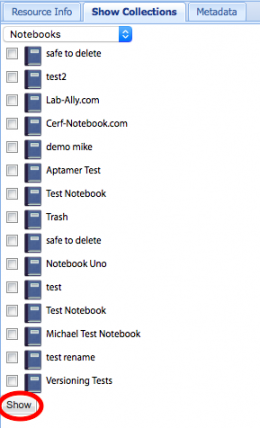
In order to perform actions on a Resource, the parent collection must be mounted. To mount collections that are currently hidden, click on the Show Collections button and select the type of Collection from the drop-down list (Notebooks or Projects) that you want to mount. CERF will list only collections to which you have access (because of your workgroup affiliation). Select the checkboxes next to Collections you want to mount and click on the Show button (circled below).
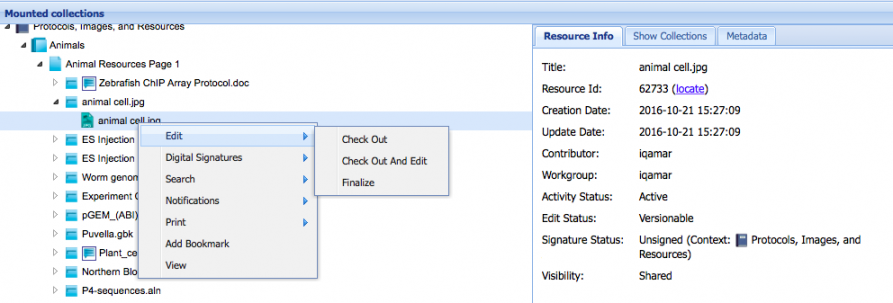
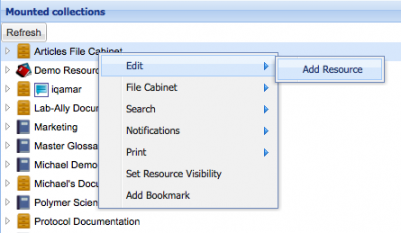
When you right-click on a Resource, you will see many of the actions that are available in the CERF client. The actions will depend on whether you are right-clicking on a Collection or on a File, your access role in the owner workgroup, and on the status of the Resource (e.g., its edit status).
Note that the workflow for checkout and edit is somewhat different on the web client compared to the CERF client. The basic workflow is as follows:
- Create a folder on your desktop that you can use to store documents checked out from the web client.
- Right-click on a file in the mounted collections and select Edit > Checkout and Edit
- When given the choice to open or save, choose Open. The file will open in the native application, which must be installed on your computer.
- Make changes and click on Save As in the application. You will save locally and then upload. In the Save As dialog, navigate to the folder you created for storing checked out documents and save.
- Close the document.
- In the web client, right-click on the document that is checked out and select Edit > Check In.
- In the right pane, click on Browse to find the checked out document on your local machine. Select whether you want to replace (if it started out versionable) or create a new version and whether to edit metadata.
- Click on Check In and click Save Metadata (if you have selected to add metadata).
Add a Resource to CERF
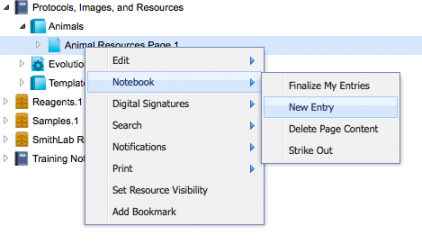
You can add resources to CERF from the web client as well. To add an Entry to a Notebook, simply right-click on a Page and select Notebook > New Entry.
To add a file to a File Cabinet (Project), right-click on the File Cabinet or Folder and select Edit > Add Resource.
< Password Management up Workgroups >